Hi guy’s
This is Ravi Varma, in this article I will tell you about Aadhar Authentication in the GST portal
Let’s start,
The government has made Aadhaar authentication mandatory for all GST holders, anyone who wants to get registered in GST will have to do their Aadhaar authentication so that they can claim their refund as it is difficult to claim refund without Aadhaar authentication.
How to authenticate our Aadhar on the GST portal.
By following these steps, we can authenticate our Aadhar under GST.
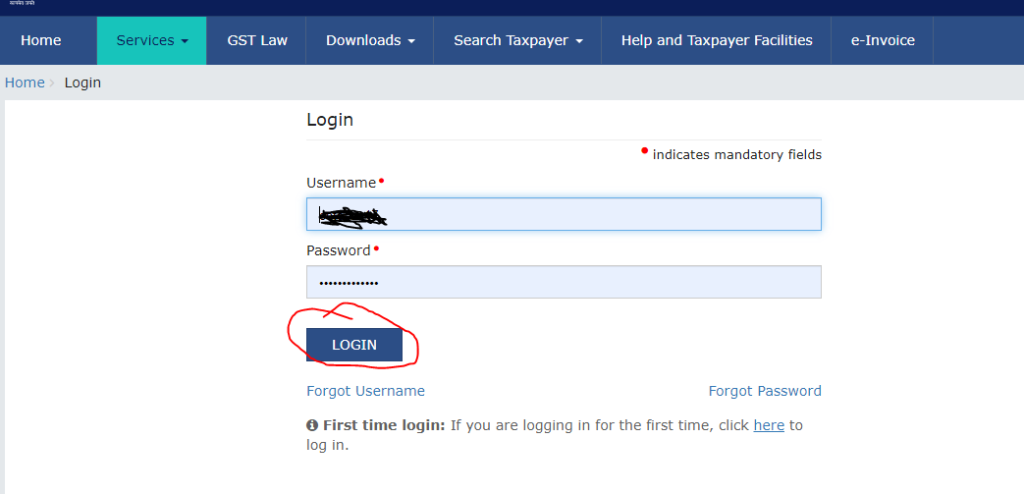
Step1:- log in to your GST portal

Step2:- Enter your id & password along with captcha code and click on the login button.

Step3:- As soon as you log in to your GST Portal, then you will get an Aadhaar authentication option, in which 2 options will appear.
(A) Remind me later – If you click on this option, it means that you are telling Aadhaar authentication that we will authenticate our Aadhaar later.
(B) Yes navigate to my profile – If you click on this option, it means that you want to get your Aadhaar authenticated, then the portal shows you all the options for further processing.
Step4:- After this, you will get 2 options to authenticate your Aadhaar
(1) Send aadhar authentication link – Using this, you can do your Aadhaar authentication through your Aadhar card.
(2) Upload e-Kyc documents – If you click on it, you can authenticate your Aadhar with your Passport, Voter Card, KYC Form.
Step5:- As soon as you click on Send Aadhaar Authentication link, you will see the data of the authorized person of your company, then you have to enter the Aadhaar card number of that person on the portal.

Step6:- Please click on the send verification link.

Step7:- As soon as you click on the send link, a popup will show you that your link has been sent to your mobile number and email address.

Step8:- After that you have to open your email address and click on the link given in it, then as soon as you click on that link you will reach a new portal where you will have to enter your Aadhaar number after doing this process.

Step9:- After that, you have to tick on Consent of Authentication and click on the Aadhaar option given below and enter your Aadhaar number

Step10:- When you enter your Aadhaar number, after that you have to click on verify Aadhaar number to validate it, as soon as we click on it, an OTP is sent to our registered mobile number (this number is your Aadhar is linked with the card), we have to enter the OTP on our portal, only after that, the process of Aadhar authentication will be completed.

Step11:- As soon as we click on the valid OTP, our process shows the successful message and a message also goes to our email that your Aadhaar authentication process is completed.

Thanks,