Hello Guys,
This is Ravi, and in this blog, I am gonna show you how to create GST temporary ID
Let’s begin,
What is meant by GST temporary ID for an unregistered person?
The GST department has given this opportunity to an unregistered person for taking his ITC in a good manner.
If you are an unregistered person and you had purchased assets for your future work, and now after 4 to 5 months you have created a problem, and because of this you can’t afford these assets for your future work.
Now if you want to take your full money from the owner of the assets, you have to take registration in the GST after that you can take your full credit amount.
If you want this, so you have to get a temporary GST registration after that you can avail of your ITC from the GST department.
How to take GST registration on the GST portal?
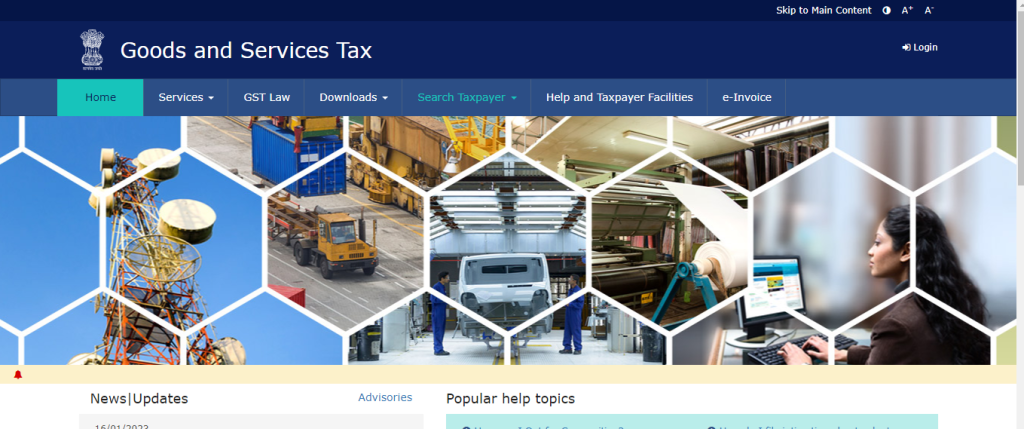
- Go to the GST portal.

- After going to the GST dashboard you have to click on the service tab after that you will be clicked on the user service tab under the service option, after that, you can see an option i.e Generate User ID for Unregistered Applicant then click on it.

- After that, you will get a warning popup and in this popup, you will be notified that you can use this temporary GST number for only such cases (refund and advance ruling), also he will notify you that this GST registration is applicable only to such types of people who are not liable to take registration under that GST and his/her not match the threshold limit of the registration under the GST, after that you can take the registration under the GST as a temporary GST holder.

- After that, please select your case why are you taking registration under the GST, and click on the proceed button.

- After finishing all these steps, please hold your PAN number, Aadhar, email address, mobile, and webcam.
- And now enter your name, PAN number and etc.


Note point******* The state option is a very important option if your supplier belongs to Karnataka and you are belonging to UP so, in that case, you have to select your state in Karnataka after that you can take your GST credit. And if your supplier belongs to UP and you also belong to UP then no need to select another state to select UP because your supplier is belonging to UP that’s why.
- And after clicking on the proceed button you will get an OTP in your registered mobile number and email address then enters this OPT in the given column and click on the proceed button

- After following these steps you can easily get your registration under the GST.

- And your user ID and password will be sent in your mail ID, so you can use your user id and password for the login into the GST portal.
- And also you have to do your Aadhar authentication on the GST portal by clicking on the navigate to my profile button, after that you can use this portal in a good communication way.
Thanks,